Impact Shield
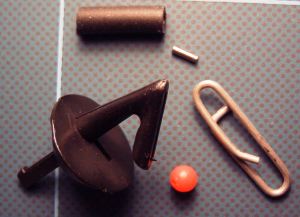
For this rig section , you will need....
an impact shield,
rubber tube,
crimp,
bead,
and a lead link....
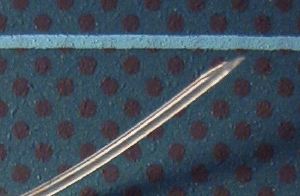
Cut the end of the bodyline into a point (helps to thread on such things as beads, sequins, crimps etc...)

Take the other end and tie-off to the lead link, using a grinner knot or half blood knot...
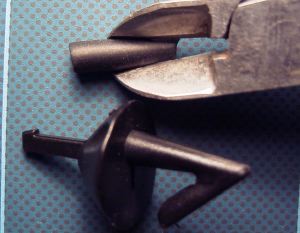
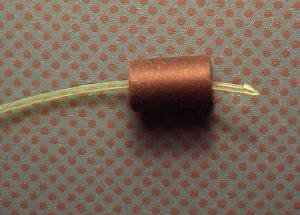
Now cut the rubber tude supplied with the impact sheild to fit the lower half....
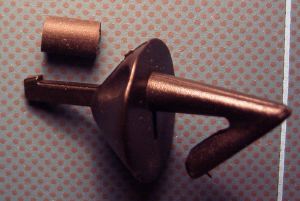
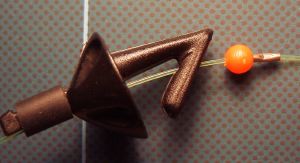
You should now have something that looks like this!!!!!
Thread the tube sleave down the bodyline.....
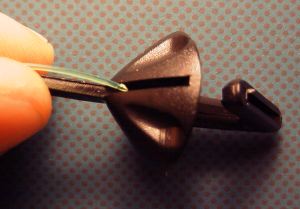
Now tread the impact shield starting from the bottom.........

and up through the slot in the crook of the top section .....
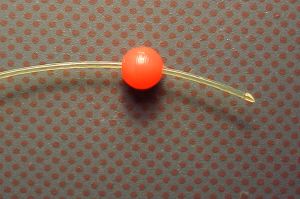
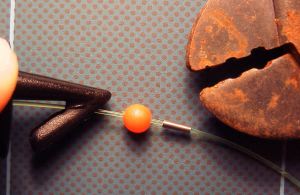
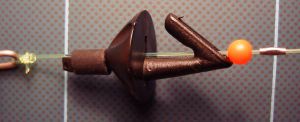
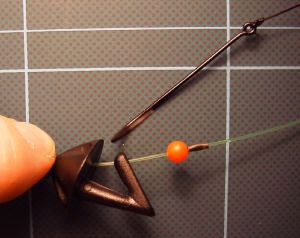
Next thread the bead....
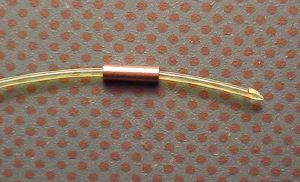
followed by the crimp. ......
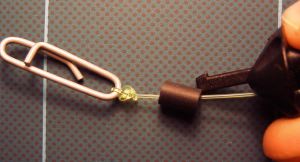
You should now fix the impact shield into place, close to the lead link...
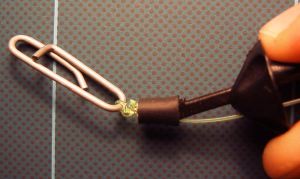
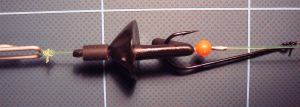
hold the impact shield, and slid the rubber sleave over the lower section...
until the end pops over the tail-clip .... just like this....
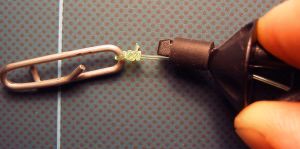
Now you need to gently squeeze the crimp to hold the bead in place, just above the top of the impact shield..... say about a mm or less....
make sure that the crimp stays in place, BUT, that you don't over do it, and crush the line and thus weaken it in the process.....
Lookinging good......
Now you can run a snood down to the impact shield and clip the hook just under the crook....
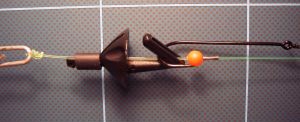
Don't over do it .. I tend to use a relay clip, so that I can slid the snood up and down .. thus allowing for the weight of the loaded hook, without the danger of over tightening and release failure....
When the impact shield hits the water .. the crook rides down the bead .. and the line running through the shield forces the hook to be ejected....
Return to Rig Index